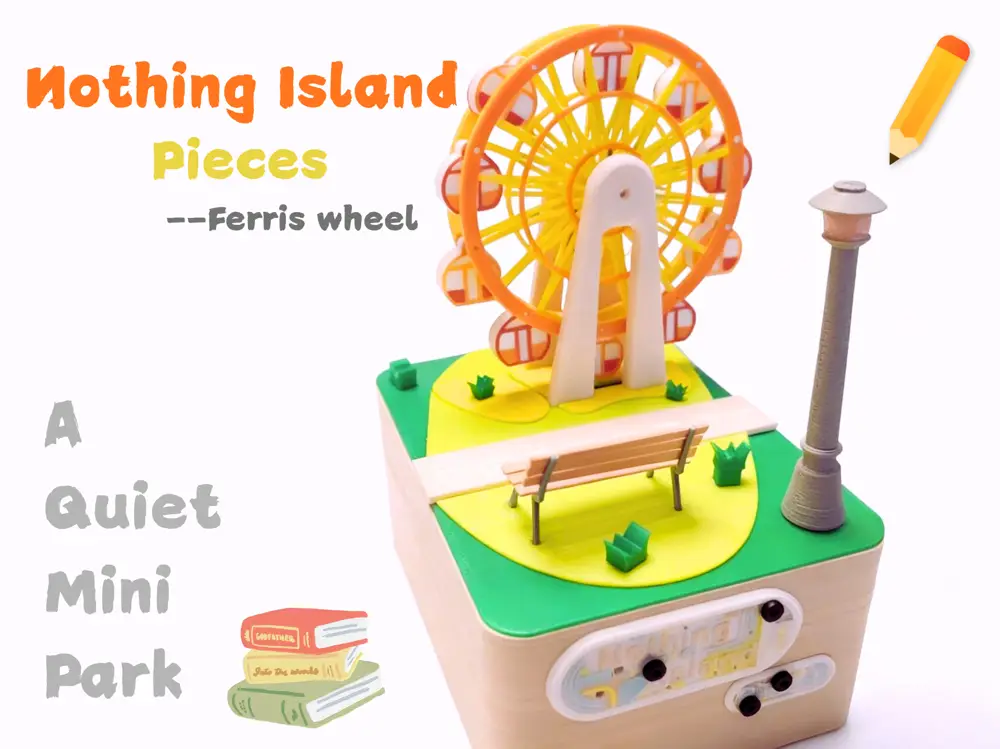
Nothing Island Piece(Ferris wheel)——一个静谧的小公园 A quiet mini park


The English version is below
隆重介绍:Nothing Island 首个分体版本——Nothing Island Pieces
虽然外观接近 Nothing Island,但结构都是新的(如约1:14 减速齿轮组),而最重要的是,它实现了 100% 分件多色,总计 最多14色,单色打印机也可驾驭。
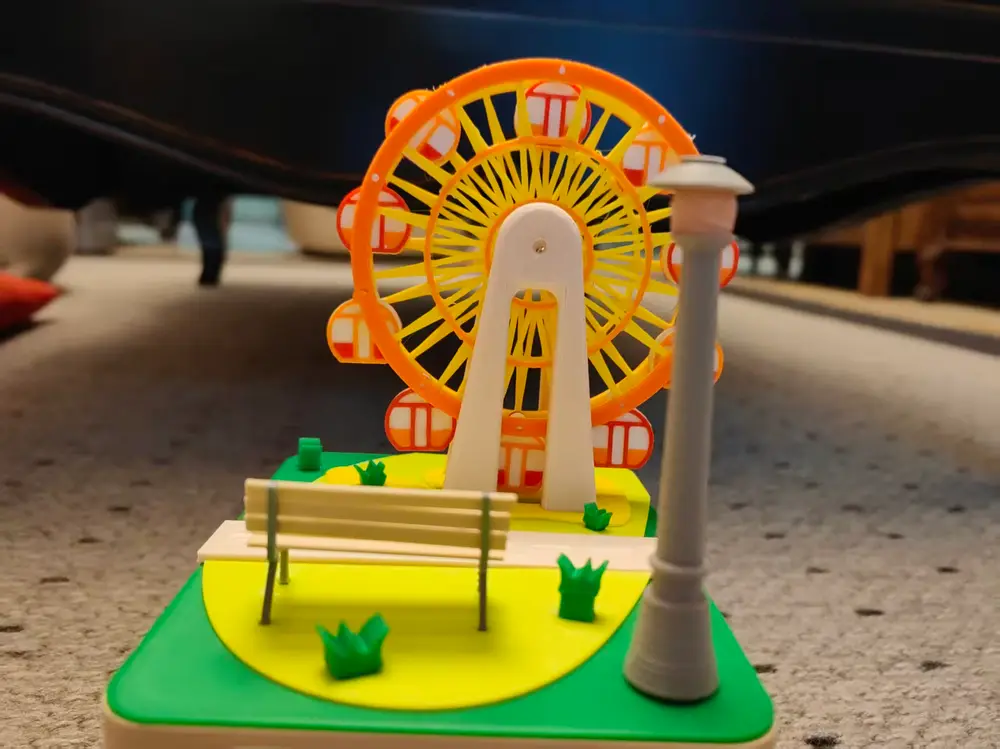
相比 Nothing Island,我重新设计了摩天轮舱位,主轮,传动轮,路灯,甚至为它加了个长椅
但分件多色的代价是,你需要 502 和一定的手工经验(哈哈)
由于是分体版,我就不写背景故事了,具体可以详见这里
五金清单:
1、创客新手套装(需要 030 电机*1,1:49.7 减速齿轮组*1,黄色橡皮筋*2,电池簧片*4,4*2 磁铁*10,连接线*2,BT3*8 螺丝若干)
2、3*30 直销轴*4
另需要大量 502 胶水以粘连,内六角扳手拧螺丝
已知问题:传动噪音较大,摩天轮转动不平稳,后期会改进
对于所有传动结构,强烈建议上油/上蜡润滑,并打磨好所有毛刺,清除所有支撑,否则可能无法传动
虽然部件很精细,但已经试验过均可以在 0.4mm 喷嘴上打印且效果不错,个人觉得没有使用 0.2mm 喷嘴的必要,但组装要小心损坏零件。
虽然已经测试过,但由于不同打印机有不同公差,如果传动系统有问题或者拼装困难:
你看着办,能动,装上就行
推荐使用夜光耗材作为灯罩,木质耗材做长椅,如果没有也可以换成普通耗材配置中是我认为最佳的色彩方案,共 14 色,如果找不齐可以将相近颜色合并(其实连我耗材都找不齐哈哈)
提供详细 pdf 组装说明,无需担心组装困难问题
Grand Introduction: Nothing Island's First Modular Version — Nothing Island Pieces
Although it looks similar to Nothing Island, the structure is all new (such as the approximately 1:14 reduction gear set), and most importantly, it achieves 100% modular multi-color assembly, with up to 14 colors in total, which a single-color printer can also handle.
Compared to Nothing Island, I redesigned the Ferris wheel cabins, main wheel, drive wheel, lampposts, and even added a bench.
However, the price of modular multi-color assembly is that you need 502 glue and some hands-on experience (haha).
Since this is a modular version, I won’t write a background story.
For details, you can refer here.
Hardware List:
1. Maker Beginner Kit (requires 030 motor *1, 1:49.7 reduction gear set *1, yellow rubber bands *2, battery contacts *4, 4*2 magnets *10, connecting wires *2, BT3*8 screws, and some)
2. 3*30 direct-drive shafts *4Additionally, you'll need a large amount of 502 glue for bonding and an Allen wrench to tighten screws.
Known Issues: The drive is relatively noisy, and the Ferris wheel does not rotate smoothly — improvements will be made later.
For all drive mechanisms, it is strongly recommended to oil/wax and smooth out all burrs, and remove all supports, otherwise it may not rotate properly.Although the parts are very detailed, they have been tested successfully on a 0.4mm nozzle with good results.
Personally, I don't see the need to use a 0.2mm nozzle, but be careful during assembly to avoid damaging the parts.
Although tested, different 3D printers have different tolerances.
If the drive system has issues or assembly is difficult:Do as you see fit, as long as it works when assembled.
It is recommended to use glow-in-the-dark filament for lampshades and wood filament for the bench.
If unavailable, regular filament can be used. This is the color scheme I consider optimal, with 14 colors in total. If you cannot find all colors, similar colors can be merged (in fact, I can't even find all my filaments haha).
Detailed PDF assembly instructions are provided, so there is no need to worry about assembly difficulties.