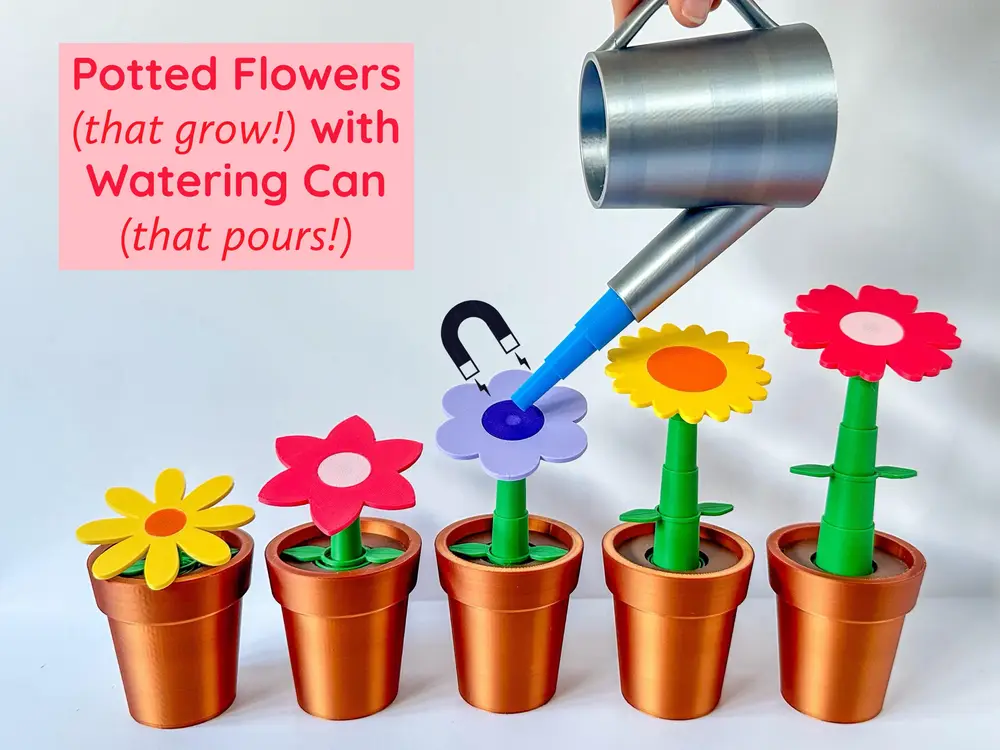
Potted Flowers with Watering Can


April showers (or watering cans) bring May flowers in this playful spring design 🌼 The watering can pours ‘water’ onto the flowers and makes them grow. The magic is in the magnets - one in the center of each flower and one at the end of the ‘water’ coming out of the spout. When extended, the flower will stay up but also easily collapses when you want to water them again.
Important: You will need 6x3mm Neodymium Magnets (one for each flower and the end of the ‘water’)
Link for 6x3 magnets on Amazon: https://amzn.to/4b7ofVx
How to Print
Flowers (6 styles, each include 2 parts: center and petals):
3D PRINTING SETTINGS
Layer Height 0.2mm
PLA works great
15% Infill
To add the magnets to the flower centers, add a pause print at layer 23 (layer height 4.6 mm) to insert the magnet (this is the same for all the flower styles)
*Make sure to note the orientation of the magnet every time you add one to a flower (orientate it the same way/direction for each flower) and make sure to orient the magnet in the watering can accordingly.
Assembly: insert the center of each flower into it's matching petals (I recommend a little super glue to secure them in place)
Flower Stem:
3D PRINTING SETTINGS
Layer Height 0.2mm
PLA works great
Infill 15%
Notes: I recommend printing the flower stem on a smooth print plate for good adhesion.
To assemble: Place the leaves around the stem before adding flower top. One end (of the inner ring) of the stem is hollowed. Insert the flower top into that end of the stem. If needed add a drop of super glue:)
Pot and Dirt
3D PRINTING SETTINGS
Layer Height 0.2mm
PLA works great
Infill 10-15%
To assemble: place the dirt into the pot, then add the stem into the dirt pushing down for a snug fit. I tried to design all of these pieces with minimal tolerances. I wanted the dirt to fit into the pot snuggly, and the stem fit into the dirt snuggly, so they don’t come out easily when watering the flowers.
Watering Can
3D PRINTING SETTINGS
Layer Height 0.2mm
PLA works great
15% Infill
For the ‘insert for water spout’ piece, add a pause print to layer 23 (layer height 4.6mm mm) to insert a 6x3mm magnet (remember to check the orientation so when it’s finished it ‘attracts’ the flower)
To print the watering can bottom in multicolor, insert a pause print for color change at layer 20 (layer height 4.0 mm)
Notes: I recommend printing the insert for water spout and watering can on a smooth print plate for good adhesion.
Assembly: Insert the water insert into the spout with the 3 ring end (magnet end) positioned to come out the spout opening. Then insert the bottom of the water can into the watering can making sure to line up the notch with the matching notch cut-out (see photos).
That’s it!
Have fun printing:)