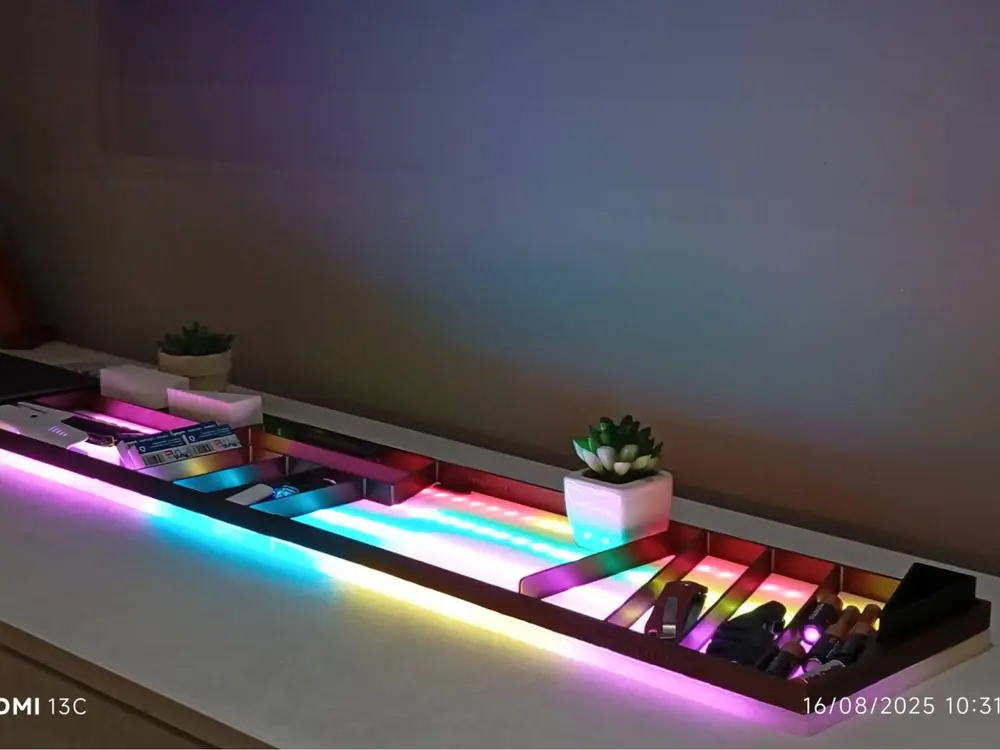
"Luminoso" 80 cm! organizer da scrivania


During printing, the upper pieces stop after a few layers and pause so as to allow you to change the filament if you don't have a color change accessory and you will have to do it manually. In the case of a single color, press play again and off you go.
I designed this desk organizer to provide plenty of storage space with a cool, backlit design.
It's great for modern desks.
Have fun with colors, finishes, and lights!
You can add any LED kit you have available. I used the complete Bambulab kit, including the remote control for added convenience. But leave the creative freedom up to you.
It's easy to print and connects in a simple, modular way. You can also print it without AMS. Just remember to change the color during the slicer process after printing the transparent parts.
Assembly
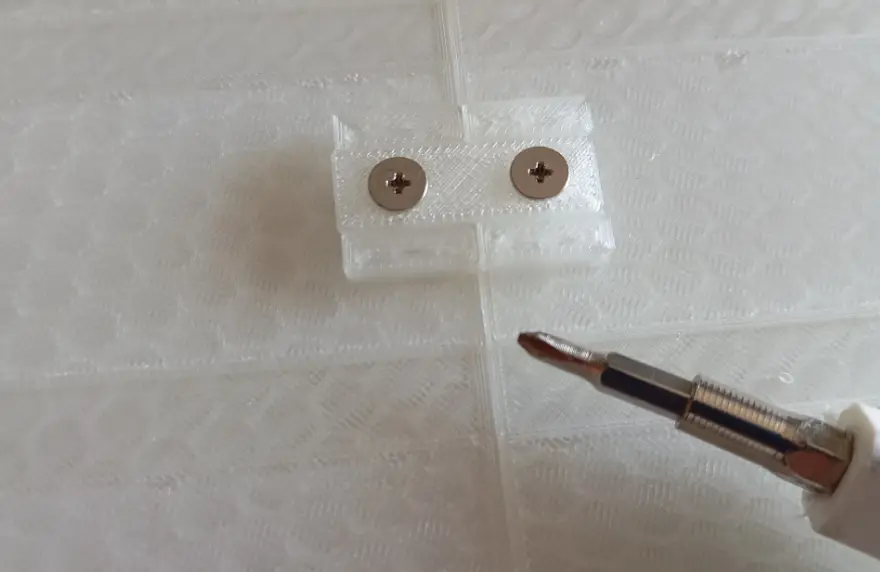
You'll need 12 M3x6 mm screws, preferably with a flat or countersunk head!
Insert the 6 connectors you'll print and screw in the left and right screws.
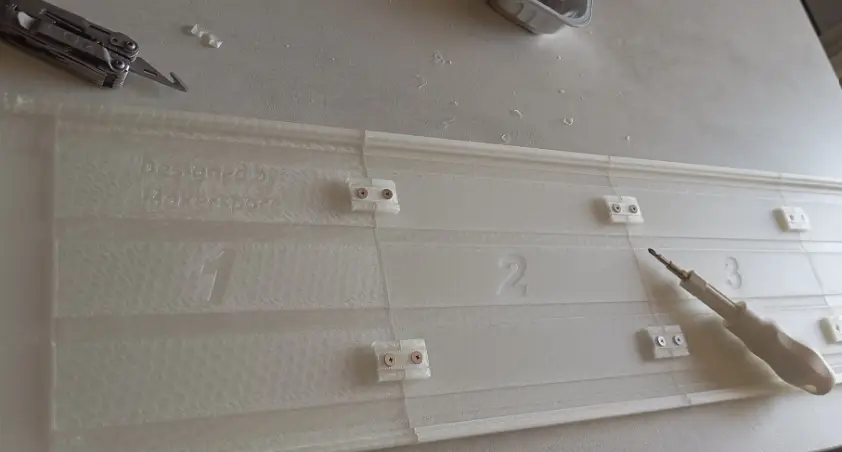
Make sure everything is aligned properly, and then start installing your LED strip.
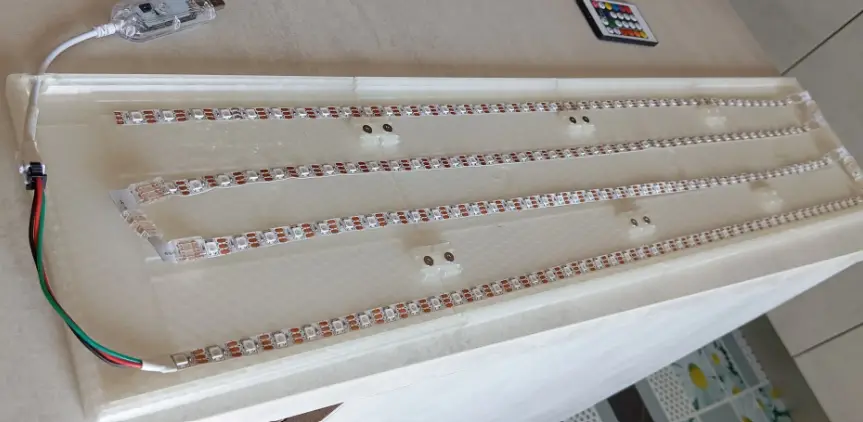
On the left, you'll find a cable exit hole, and secure it with the small clip you'll find in the files.
Once the top part is printed, it snaps together and you place it on the base without gluing or anything else; it should fit smoothly.
Thank you, and I'm waiting for some of your photos. Please support me. Thanks and happy printing!
您不得分享、转授权、出售、出租、托管、转让或分发该数字文件或该对象的3D打印版本,以及以数字或物理形式存在的任何其他衍生作品(包括混音)。未经许可,您不得以任何方式使用这些物品进行费用收取。