2025-07-19 15:32:43
13k
748
Magnetic Kobra S1 Front Cover

@rozsmix1_371876
打赏
私信
关注
+ 常用打印机类型
224
分享


描述
Hola Guys,
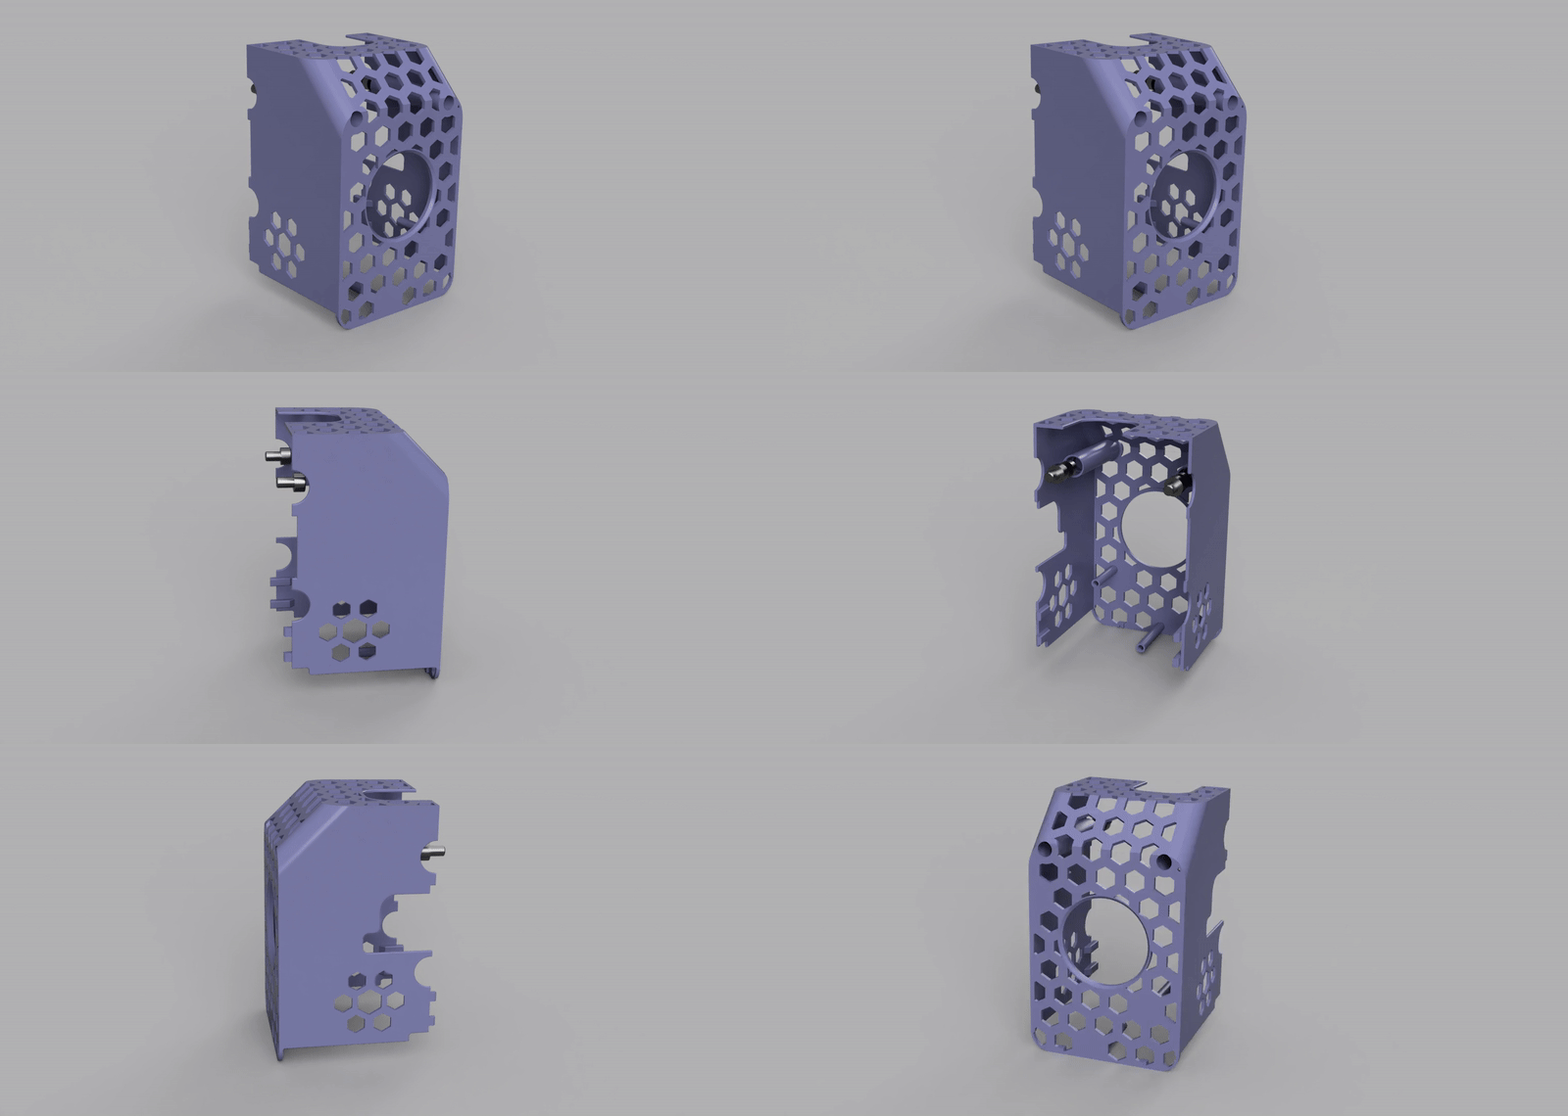
Here is my latest model to get a better user experience with the removal of the front cover.
I used the two holes that which already in place to position the toolhead.
In this design, I used M4 Socket head screws, which fit perfectly into the holes, and magnets for positioning and holding the toolhead.
How to make it:
- Print out the Model
- Get some M4 Sockethead screws (M4x6 is preferable but Maximum M4x10mm)
- Get 2pcs 6x3mm magnets (Aliexpress, Ebay etc.)
- Gently screw the M4 screws into the Bore, as if you are cutting a thread (1 rotation forward, 0.5 back) until the screw is totally in. (See Pictures)
- Put the magnets into their sockets in the printed part, and glue them in.
- Fix the fan and the cooling duct onto the part.
- Your part is ready to use.
Suggestion:
- After you have printed out, make sure that the screw heads fit tightly into the bore on the printed part. (Tight but still removable by hand relatively easily) If it is too tight, you can use the Hole compensation in the slicer to make it a little bit bigger, or try to adjust it with a sharp scalpel.)
- I suggest printing it out at least from PETG, but preferably from ABS.
!!! Attention, Use this at your own risk !!!
If you have any suggestion feel free to contact me, and I'll try my best.
Br: rozsmix1
标签
版权声明
Standard Digital File License
该作品受标Standard Digital File License保护。
您不得分享、转授权、出售、出租、托管、转让或分发该数字文件或该对象的3D打印版本,以及以数字或物理形式存在的任何其他衍生作品(包括混音)。未经许可,您不得以任何方式使用这些物品进行费用收取。
您不得分享、转授权、出售、出租、托管、转让或分发该数字文件或该对象的3D打印版本,以及以数字或物理形式存在的任何其他衍生作品(包括混音)。未经许可,您不得以任何方式使用这些物品进行费用收取。