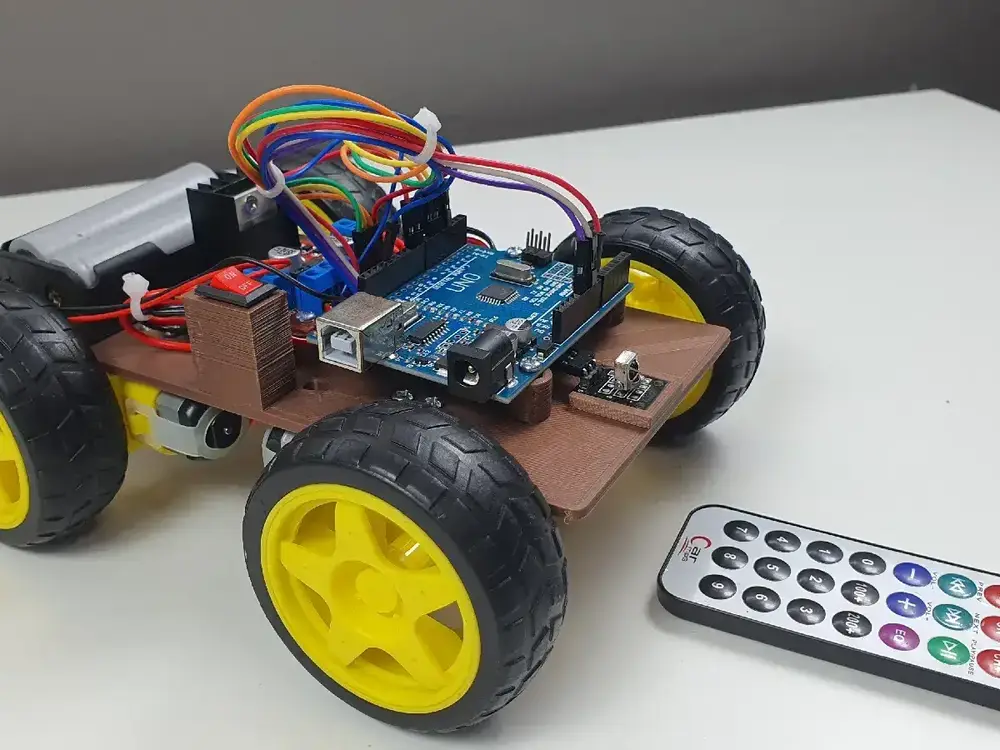
Remote Control Car Using Arduino Board


Arduino cars are exciting projects that blend creativity, engineering, and fun. Whether you're a hobbyist or a student exploring the world of electronics, building and controlling an Arduino car can be a rewarding experience. One of the most popular ways to control these vehicles is through a remote control system. In this guide, we'll walk you through the process of setting up and controlling an Arduino car using a remote.
I printed the frame on an Anycubic Kobra 3
You need to prepare some components if you want to make it.
- Arduino Board ( Uno recommended )
- Motor driver module (e.g., L298N)
- DC motors ( 4 pcs )
- Chassis for the car ( 3D printed )
- Wheels ( 4 pcs )
- Batteries (for the motors and the Arduino).
- Battery holder.
- Remote control module ( Use a remote on the Arduino kit )
- Infrared receiver module
- Some Jumper wires
- Screwdriver (for assembly)
After preparing all the components that I've listed before. Let's build the car yourself.
The first thing you need to do is solder wires for 2 motors. After soldering it, attach the motors to the motor mounting bracket.
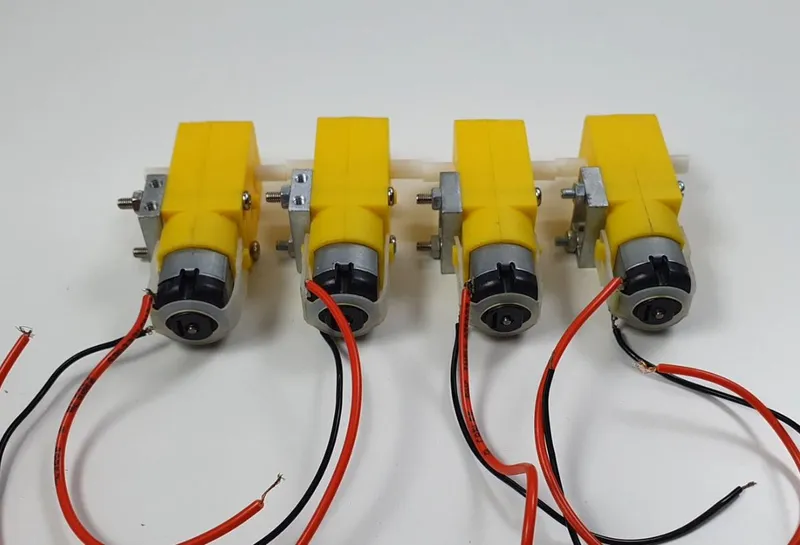
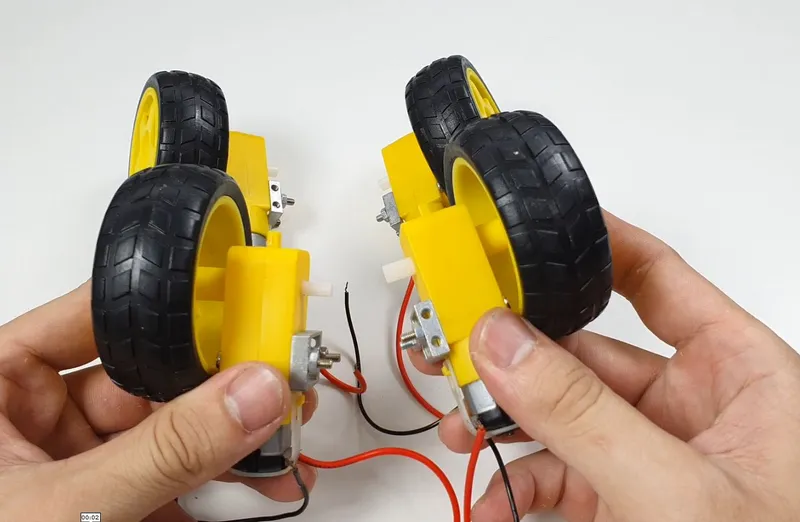
Attaching wheels to the motors
Lets mount the motors to the chassis.
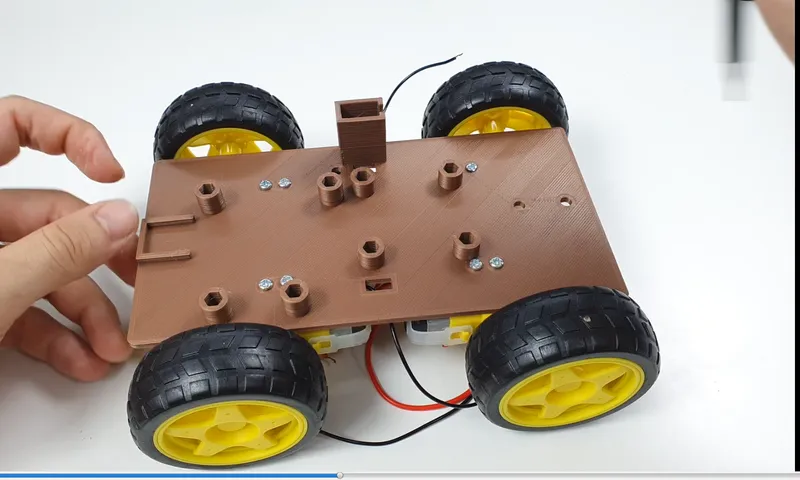
It looks pretty good, right? The next thing is mounting the battery holder to the chassis using 2 M3 nuts.
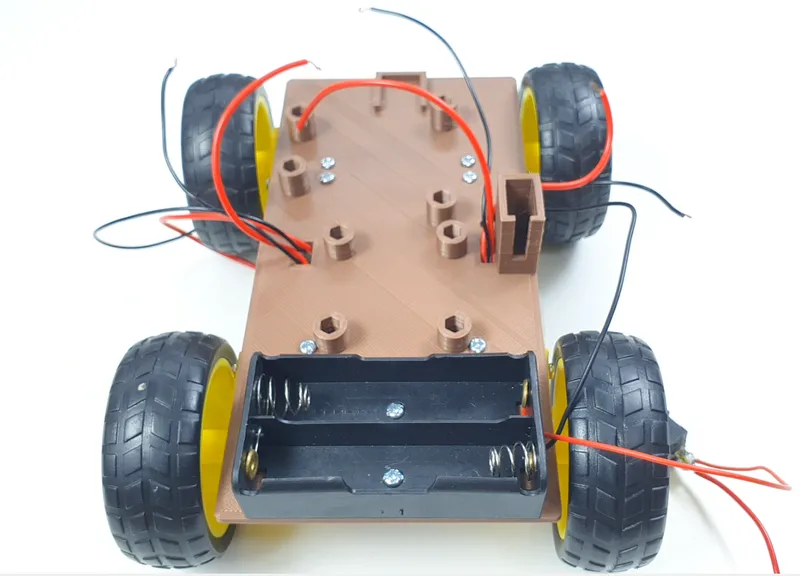
Mounting the L298N to the chassis using 4 M3 bolts, you have to add 4 nuts into the chassis to screw the M3 into the chassis.
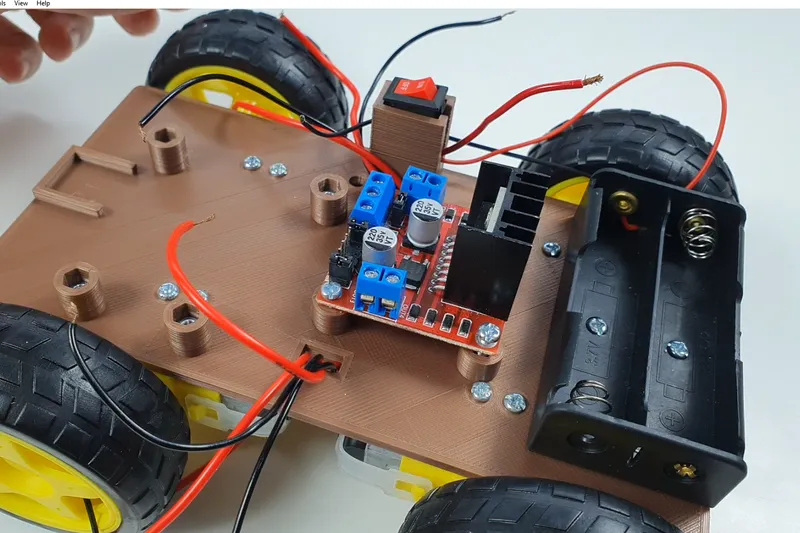
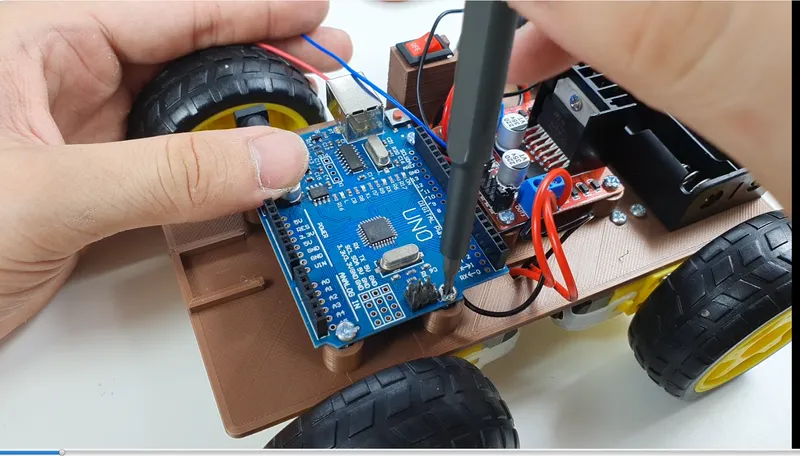
After attaching the L298N to the chassis. let's connect the motor to OUT 1, OUT 2, OUT 3, OUT 4. The next thing is mounting the Arduino Board to the chassis.
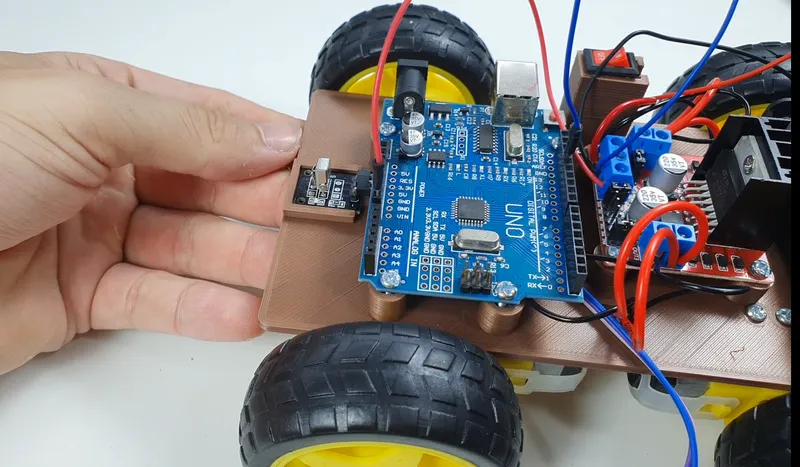
Almost finished, let's mount the IR sensor to the chassis
Here is the circuit diagram
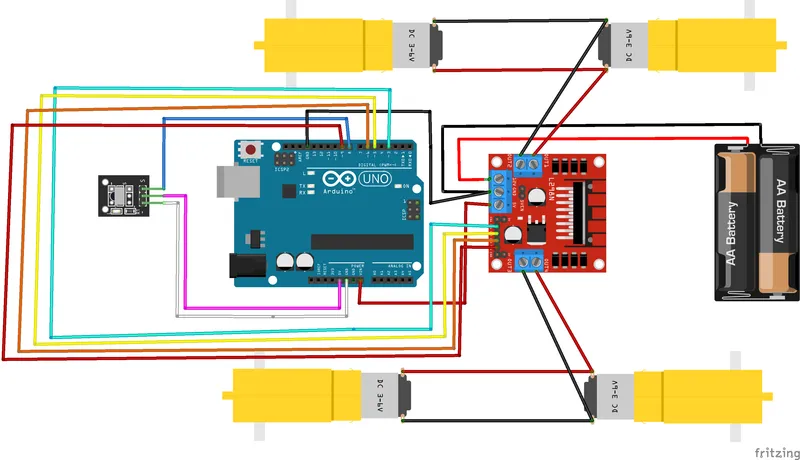
After connecting to the Arduino board like the image above, let's set up the code .
The code is here.