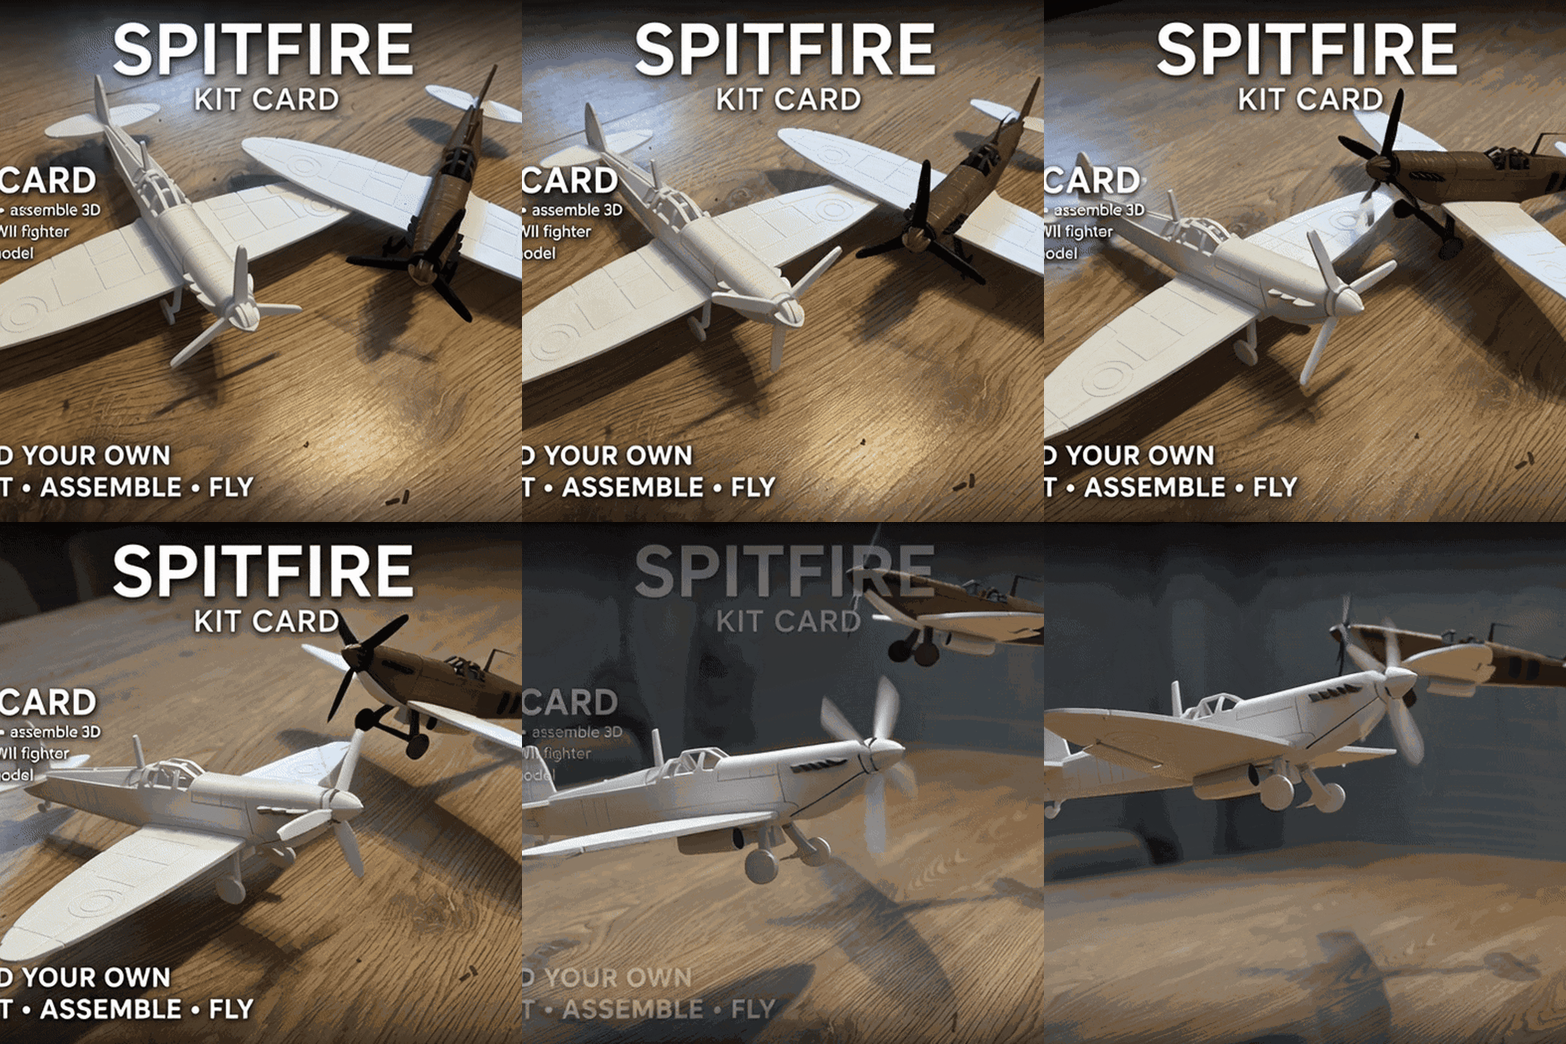
SPITFIRE KIT CARD


✈️ Spitfire – WWII Fighter | Print • Assemble • Display
⚠️ IMPORTANT – PRINT THE TOLERANCE TEST FIRST
Before printing the complete model, print the Tolerance Test located on the first build plate (Build Plate 1) of the project.
This model was designed with very tight tolerances to achieve precise, secure and glue-free assembly. Because every 3D printer can produce slightly different dimensional results, it is important to check your printer's tolerance before printing the complete model.
How to use the Tolerance Test
- Open the project and select Build Plate 1.
- The
Tolerance Testis located on this first build plate. - Print the Tolerance Test first.
- Check how the test pieces fit together.
- If the fit is too tight, reduce the thickness of the model in your slicer.
- If there is too much play, increase the thickness in your slicer.
- Once you find the correct setting, use the same adjustment when printing the remaining build plates.
Only adjust the thickness. Do not change the other dimensions of the model.
The tolerance test is especially important for this project because the parts are intentionally designed with very small clearances. Taking a few minutes to perform this test can save you from printing the entire model with incorrect tolerances.
About the Model
This is a 3D-printable Supermarine Spitfire, one of the most recognizable fighter aircraft of World War II.
The entire model was designed from scratch in FreeCAD, with a focus on precise geometry, simple construction and a clean final appearance.
The project is designed as a print-flat and assemble-into-3D kit. The individual components are printed flat and then assembled to create the complete three-dimensional aircraft.
The model is intended as a display piece, while keeping the printing and assembly process as simple and enjoyable as possible.
🔧 Glue-Free Assembly
The Spitfire has been designed to assemble without glue.
The individual parts use precisely designed mechanical connections that allow the model to be assembled by fitting the components together.
The tolerances are intentionally very small to provide a clean and stable final assembly.
Because of this, printing the Tolerance Test on Build Plate 1 before printing the complete model is essential.
Once the correct tolerance has been established, the remaining parts should fit together securely without requiring glue.
🛩️ Design Philosophy
The goal of this project was to create a Spitfire that combines:
- a recognizable and detailed silhouette,
- simple assembly,
- precise mechanical connections,
- glue-free construction,
- flat-printable components,
- and a clean final display appearance.
The model was designed entirely in FreeCAD, from the initial geometry through to the final printable components.
📁 Project Structure
Build Plate 1
Tolerance Test
This is the first thing you should print. Use it to determine whether your printer requires a thickness adjustment before printing the complete model.
Remaining Build Plates
The remaining build plates contain the components required to assemble the complete Spitfire.
🎯 Recommended Workflow
1. Open the project
2. Go to Build Plate 1
3. Print Tolerance Test
4. Check the fit
5. Adjust only the thickness if necessary
6. Print the remaining build plates
7. Assemble the aircraft
8. Enjoy your finished Spitfire
✈️ Build Your Own Spitfire
PRINT • ASSEMBLE • DISPLAY
Designed entirely in FreeCAD with a focus on precision, simplicity and glue-free assembly.
Remember: Tolerance Test first — then print the complete model.
您不得分享、转授权、出售、出租、托管、转让或分发该数字文件或该对象的3D打印版本,以及以数字或物理形式存在的任何其他衍生作品(包括混音)。未经许可,您不得以任何方式使用这些物品进行费用收取。