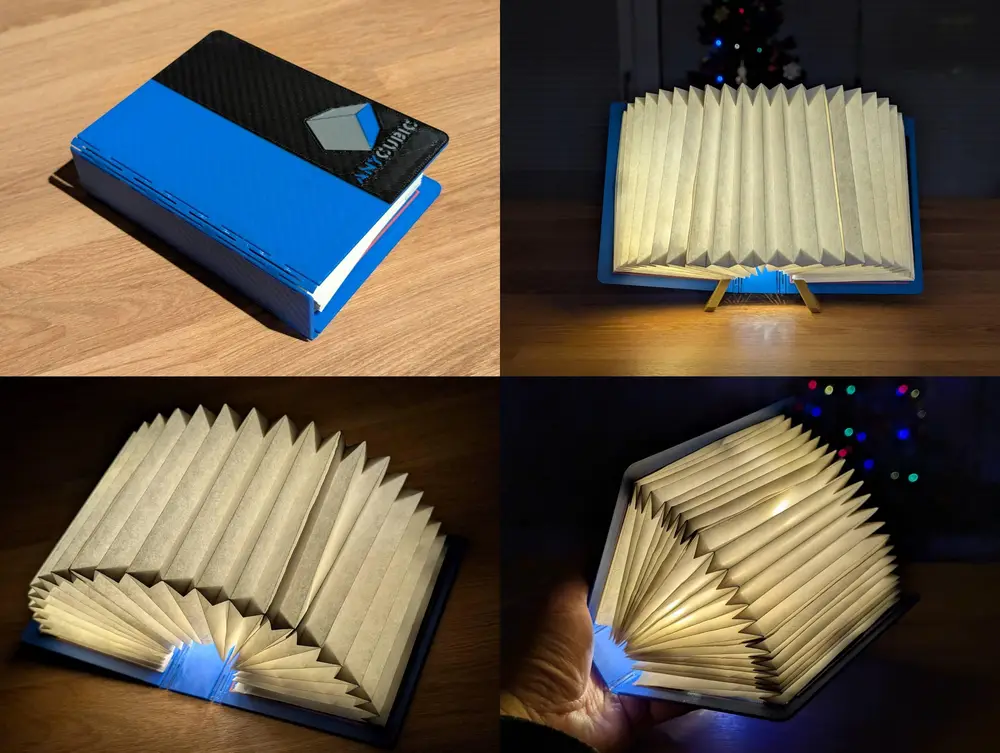
The Anycubic Light Notebook


I’ve designed a unique book-shaped lamp inspired by the look of a handheld notebook, featuring the Anycubic company logo. Similar to Lumio-style lamps, this creation seamlessly combines aesthetics with functionality. Optimized for multicolor 3D printing, it is ideal for showcasing the capabilities of the Anycubic Cobra 3 Combo. With its elegant and compact design, this lamp serves as both a stylish lighting solution and a creative tribute to Anycubic's innovative spirit.
Book stand can be found here: https://makeronline.com/en/model/Simple%20book%20stand/131430.html
Warning: This project requires a real maker, not just a "printer." It combines 3D printing, origami, and electronics.
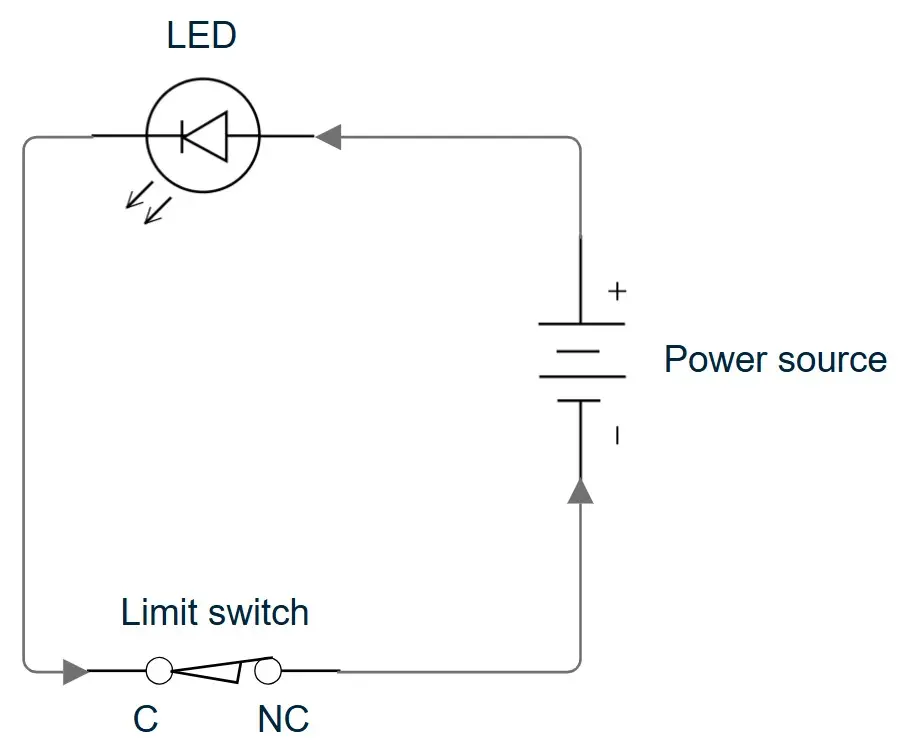
Use any light source that fits into the book cavity—from fairy lights to LED light strips for color-changing effects or custom-wired light sources. A stop switch can be added to turn the light on only when the book is open and off when it’s closed.

The book's page-like lampshade is crafted from A4 paper using simple origami techniques (I made it with my 12-year-old daughter, so it’s not complicated). One side of the shade is glued to the 3D-printed book cover, while the other side is secured with soft magnets (Search A4 sized soft magnet sheet on AliExpress), allowing easy access for electronic maintenance. The book lamp closes securely, thanks to two 5 x 3 mm magnets (AliExpress).
To Make the Book Pages Bellows Lamp Shade:
You will need three A4 or Letter-sized papers. I have a template you can download, but the outcome may vary depending on your printer settings and model. I recommend starting with plain paper and using my short clips as a guide.
Measure 87 mm from both of the long edges, draw a line, and make fold marks. These will serve as the top and bottom of the book’s pages.
Fold the short sides in half to create a center line, then use this center line to make a gate fold. Use each newly folded line as a reference to create 16 zigzag folds. Ensure each fold line is clearly visible.
Unfold and flatten the paper. Position it so that the long side faces you and the short side runs parallel to your vision.
Fold the left and right corners inward to create 45-degree markings, using the previously drawn lines as references. Unfold the paper, then fold two of the 16 sections downward and create new 45-degree fold lines. Release, fold four sections downward, and make new 45-degree fold lines. Repeat this process until all sections are folded
Once complete, unfold the paper again, with the long side facing you and the short side parallel to your vision.
Fold the left and right sides inward to form an "n" shape using the previous fold marks.
Grab two sections from the side that form inward grooves. This will create a "Y" shape at the 90-degree junction. Secure the "Y" shape with one hand, and with the other hand, press the top groove toward the "Y" top opening to create an "I" shape. Repeat this process for both sides and all grooves, completing it eight times on both side
When you have completed all three pieces, glue them together to form a longer or larger bello
Once the glue is fully dried, apply double-sided tape to one side of the bellows.
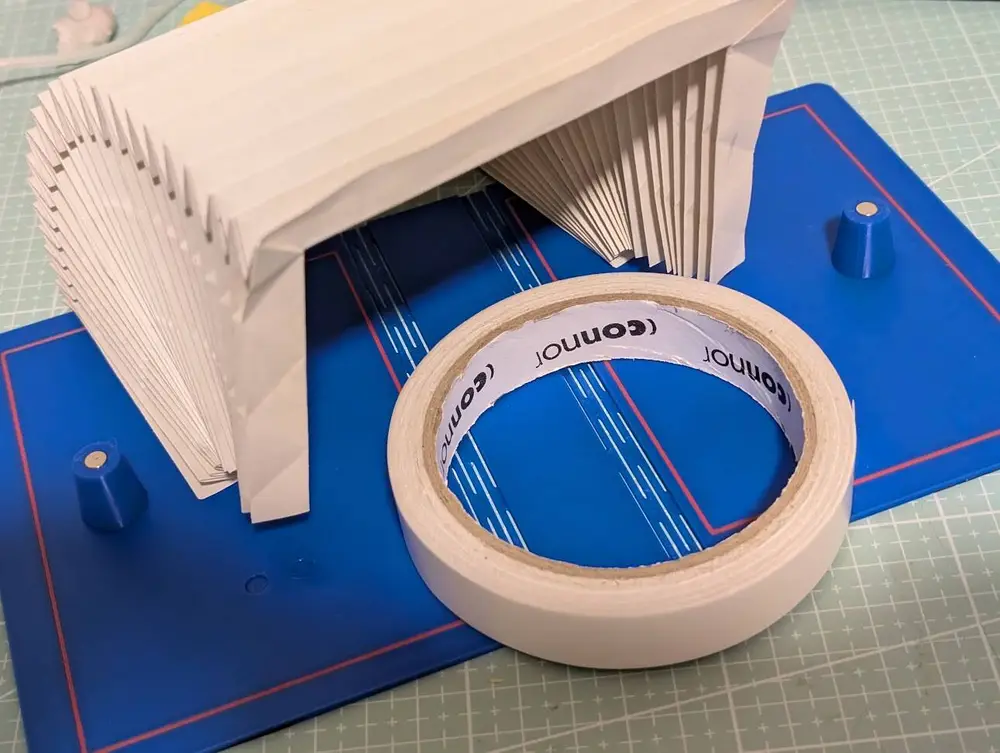
For the other side of the bellows, we will use soft magnets to secure the bellows to the book’s cover while allowing access for maintenance later (e.g., changing batteries or adjusting the light source). For this, cut 1 cm-wide strips of soft magnets.
Attach the soft magnets to the other side of the bellows by removing the protective layer. Cut another set of soft magnets to fix onto the book cover.
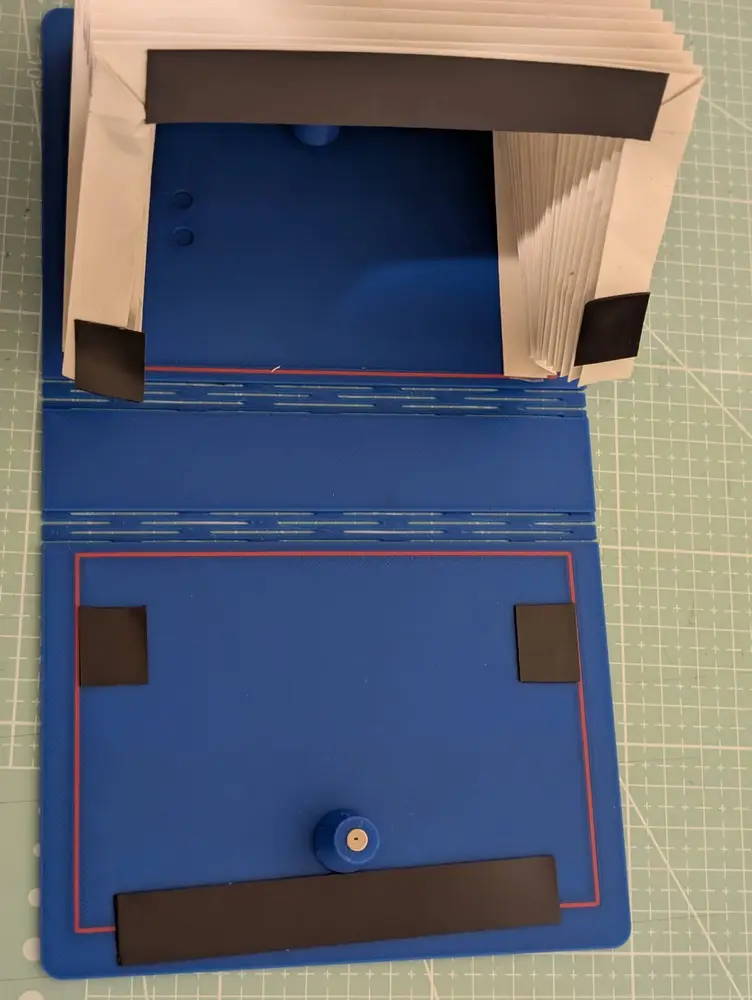
Assembling the Printed Parts
Once all the parts are printed, we can assemble them:
Insert 5 mm x 3 mm magnets into two of the pillars. Apply a drop of instant glue to each hole and secure the magnets. Ensure the polarity is correct; you want the book to stay securely closed using the magnets. If the magnets repel each other, the book will not close properly.
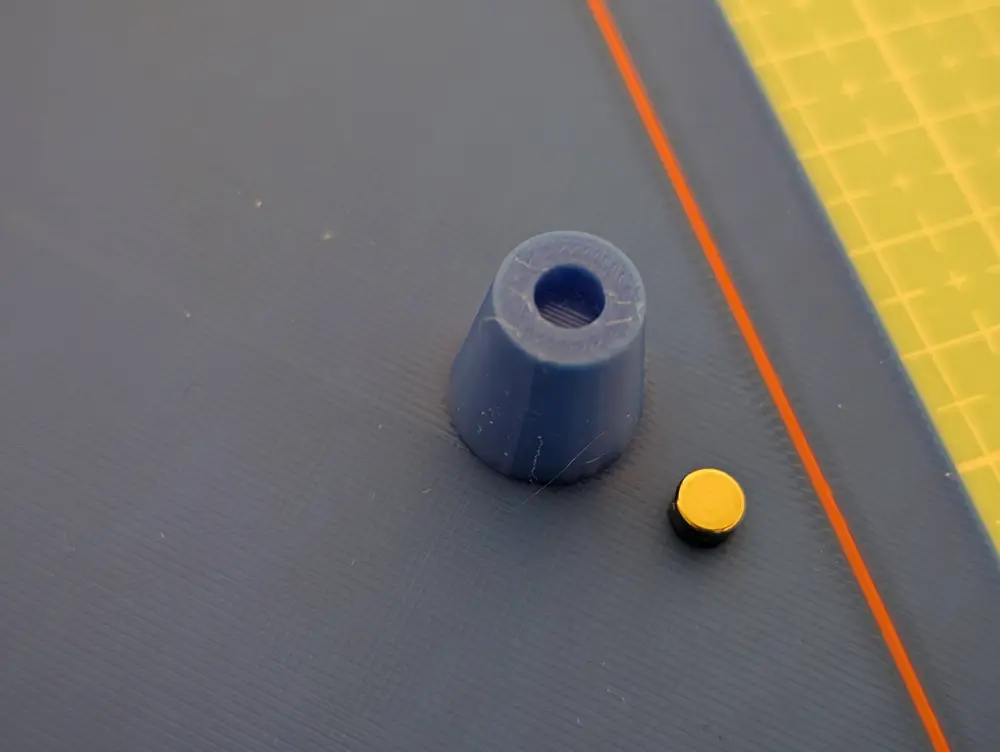
Fitting the Folded Book Pages Bellows Lamp Shade
Remove the protective layer from the double-sided tape and carefully adhere it to the guided line on the book cover. You can choose which side to fix it on and leave the other side for maintenance.
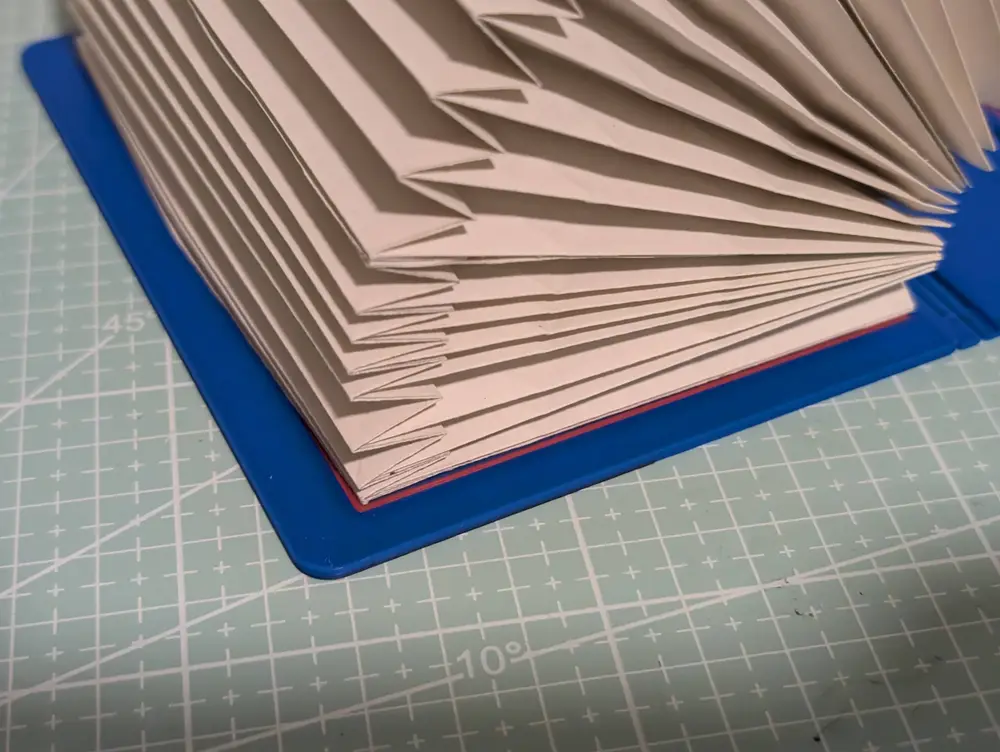
On the other side, remove the protective layer from the extra set of soft magnet strips you cut and stick them within the guided line on the cover.
Now you should be able to close the book, and when you reopen it, the magnets on the shade should keep it in position. (Fine adjustments may be needed.)
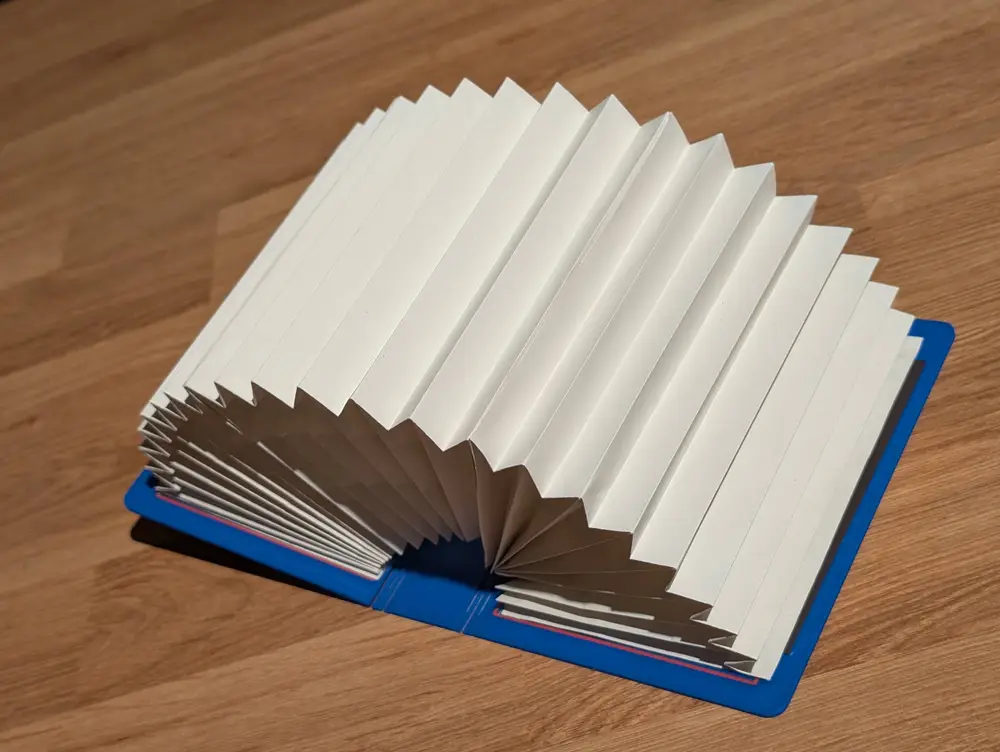
Choose Your Light Source
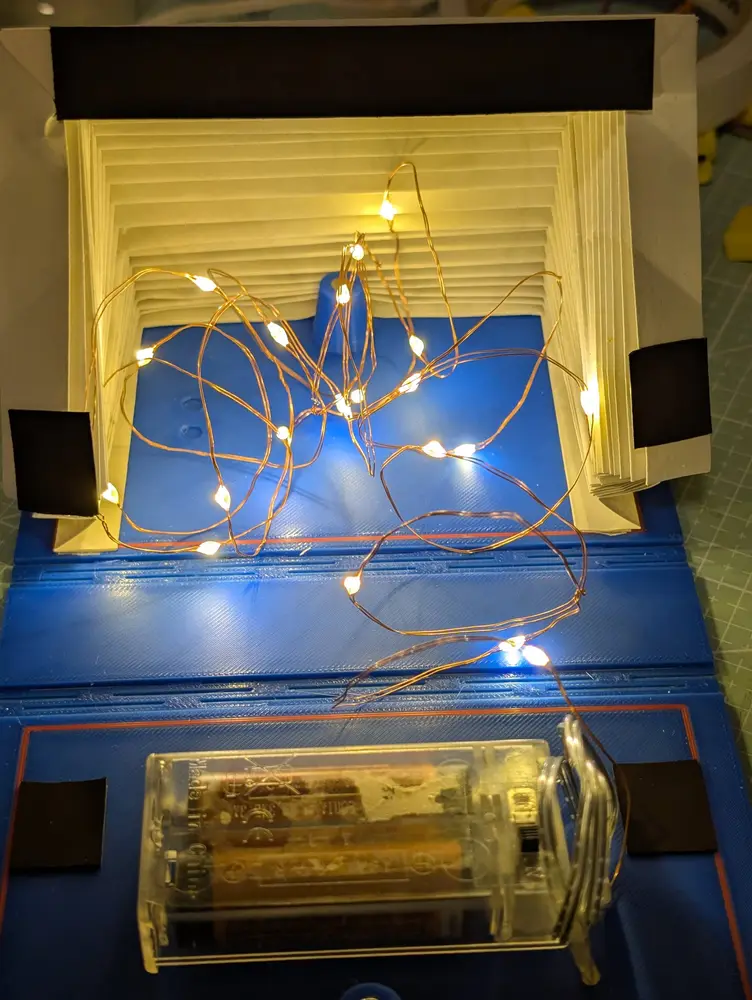
You can choose different light sources as long as they fit into the cavity
Fairy Lights: Place the fairy lights inside the book and secure the battery box using double-sided tape.
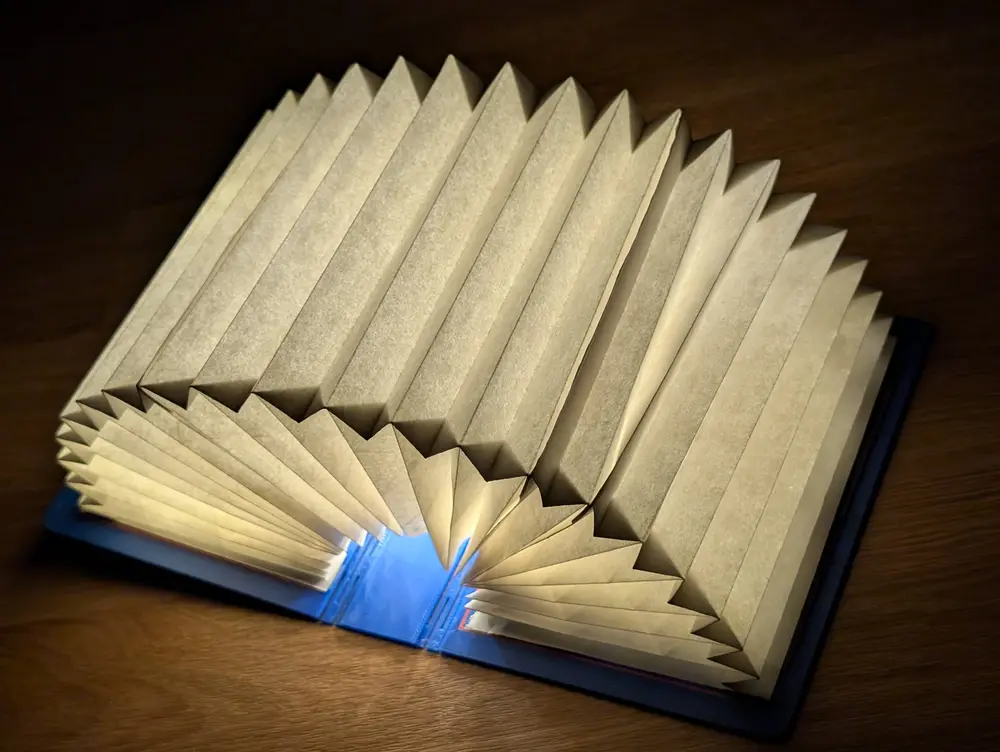
To make the book turn on when open and off when closed:
Print the stop/limit switch support.
There are two small holes on each side of the cover. Choose the side that best suits your cable/wire management and apply two drops of instant glue to fix the support tower. Depending on your setup, you can fit a portable power bank to use the book as a portable lamp
Here is a basic schematic of how the wiring should be done. (Leave the “NO” pin untouched, connect your wire/cable to “C” and "NC" pins)
You are prohibited from sharing, sub-licensing, selling, renting, hosting, transferring, or distributing the digital file or 3D printed versions of this object, as well as any other derivative work in either digital or physical form (including remixes).You are not allowed to use the objects in any manner that involves charging money or collecting fees without permission.