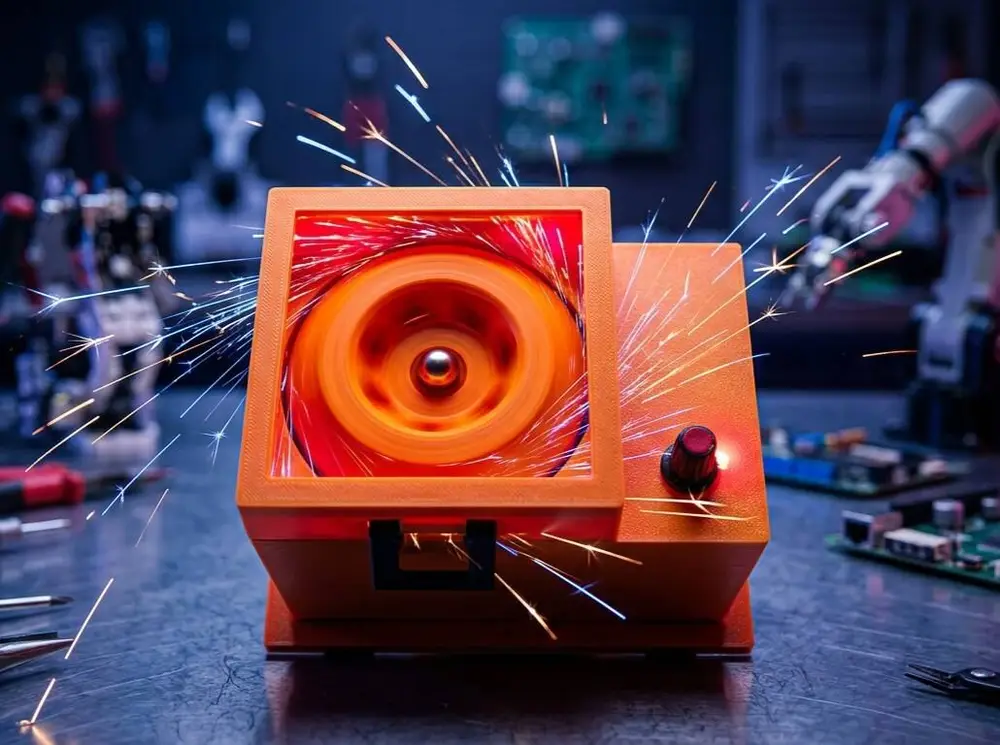
Mini centrifuge


A small centrifuge for 1.5 ml tubes commonly used in DNA extraction and other genetic laboratory protocols.
The rotor can hold up to six tubes simultaneously. It is powered by a Multiplex Permax 400 brushes Motor.
A similarly sized brushes motor can also be used.
There are also two versions of the lid: one is a solid 3D-printed lid. The other is printed in two sections with an plexiglass window in the middle.
You will need the following parts:
- Power bank or 5V cell phone charger
- Brushed motor (Multiplex Permax 400 or a clone)
- USB-C female panel connector
- 85x85mm plexiglass panel
- 6 M3 x 20mm screws
- 2 M2.5 x 6mm screws
To assemble, follow this order:
- Install the female USB-C panel connector
- Install the motor onto the motor mount using the two M2.5 mm screws.
- Screw the motor mount to the base of the box using 4 M3x 20 mm screws.
- Mount the propeller shaft onto the motor shaft.
- Secure the rotor to the crankshaft using the supplied washer and nose cone.
- Connect the USB-C panel connector wires, and the motor wires, to the PWM speed controller. (See photo)
- Attach the cover using the two M3 screws. (See photo)
Before connecting the power, turn the potentiometer all the way to the left, then connect the power and turn the potentiometer knob clockwise until you reach the desired number of turns.
CAUTION: ALWAYS USE THE CENTRIFUGAL WITH THE LID CLOSED.
Another safety precaution is to ALWAYS BALANCE THE ROTOR. This means that if you place only one test tube on one side, be sure to place another on the opposite side, even if it's empty. The rotor must always be balanced, otherwise you risk subjecting it to uneven and potentially destructive forces.
You can see it in action here.